


How to Propagate Tradescantia (Wandering Dude) Plants in 3 Easy Steps:

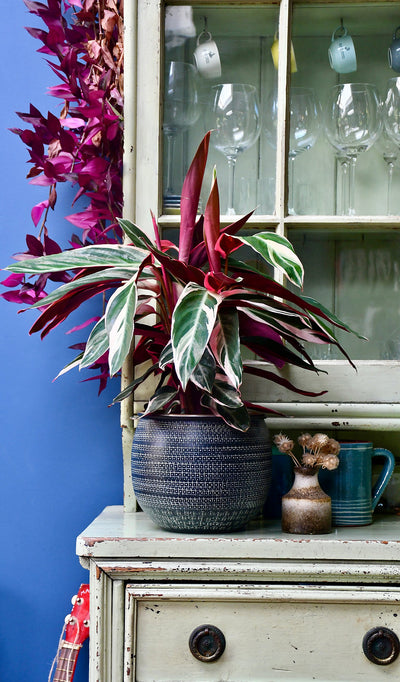
Tradescantia plants, often affectionately called Wandering Dude, are an absolute joy to grow—and an even bigger joy to propagate. These trailing beauties, with their vibrant colours and fast-growing nature, are perfect for sharing or multiplying your indoor jungle. Best of all, propagating Tradescantia is ridiculously easy and requires no special tools or skills.
Over the years, I’ve propagated my Tradescantia countless times, whether to fill out a pot, start a new plant, or share with a friend. Let me show you how to do it in just three simple steps.
Step 1: Snip Your Cuttings
Grab a clean, sharp pair of scissors or pruning shears—this part is quick and easy. Look for a healthy stem with at least two or three sets of leaves.
Here’s the key: make your cut just below a node (the little bump on the stem where leaves grow). Why? Because that’s where new roots will form! Each cutting should be around 4–6 inches long, but you don’t have to be overly precise—Tradescantia is very forgiving.
If your plant is looking a little leggy, this is also a great way to trim it back while giving yourself plenty of cuttings to work with.

Step 2: Root the Cuttings
Now that you’ve got your cuttings, it’s time to root them. You’ve got two super simple options here:
- Rooting in Water: Place the cuttings in a jar or glass of water, making sure the nodes are submerged while keeping the leaves above the waterline. Put the jar in a bright spot with indirect light, and change the water every few days to keep it fresh. Within a week or so, you’ll start seeing roots appear.
- Rooting in Soil: If you want to skip the water step, you can plant your cuttings directly into fresh, well-draining soil. Make sure the nodes are buried in the soil, and keep it slightly moist (but not soggy) while the roots develop.
Personally, I love rooting in water because I get to watch the roots grow—it’s such a satisfying process!

Step 3: Pot Your New Plants
Once your cuttings have developed strong roots (usually about 1–2 inches long if you started in water), they’re ready to pot up. Choose a small pot with good drainage and fill it with a light, well-draining potting mix.
Plant a few cuttings together in one pot for a bushier look, or space them out if you’re starting multiple plants. Gently press the soil around the cuttings to secure them and water lightly to help them settle in.
Keep your new plants in a spot with bright, indirect light, and within no time, they’ll start growing happily.
Why Propagate Tradescantia?
- Fill Out Your Plants: Propagating is an easy way to make a sparse or leggy Tradescantia look fuller. Just replant your cuttings in the same pot!
- Create New Plants: Propagation lets you expand your plant collection for free. Who doesn’t love free plants?
- Share the Love: Tradescantia is perfect for sharing. Pop a cutting in soil or water, and you’ve got a thoughtful gift for a friend.
Bonus Tips for Success
- Rotate Your Parent Plant: While propagating, rotate the parent plant weekly to encourage even growth.
- Use a Good Soil Mix: Tradescantia thrives in well-draining soil. If you’re not sure what to use, check out the soil mixes we recommend on our site.
- Fertilise During Growing Season: Once your propagated plant is established, give it a boost with Organic Tropical Plant Food to keep it thriving.

Tradescantia propagation is one of the easiest and most rewarding parts of owning these beautiful plants. Whether you’re a seasoned plant parent or just starting your journey, you’ll love how simple and satisfying it is to multiply your Wandering Dude collection.


Leave a comment